Followers

Tuesday, September 21, 2010

Whiz Bang Banana Muffins

Another internet search, this time for healthy muffins, found this recipe with a cute name. They are super easy to make and take no time at all. I usually do not make muffins because they always turn out small, and the next day the tops are sticky, so i find that a pain for transportation purposes; and just don't bother. So last week, i was in a specialty cooking store, and i found a muffin top pan! It was 16 dollars, which is pretty steep in my opinion, for a muffin pan, but i love large muffins, so i bought it. This was my first run with it, and i love it! I think i will get my 16 dollars worth.


1 cup flour
1/2 cup quick cooking oatmeal
1/4 cup packed brown sugar
1 Tbsp baking powder
1/2 tsp ground cinnamon
1/8 tsp salt
1/3 cup milk
1 egg
2 Tbsp cooking oil
1 large banana, cut up.

Preheat oven to 400 F. In a large mixing bowl, stir together flour, oatmeal, brown sugar, baking powder, cinnamon and salt. Set aside.

In a blender, combine milk, egg and oil. Cover and blend smooth. With blender running, add banana and blend into mixture.

Pour into dry ingredients and stir just until moistened. Fill muffin pans 2/3 full. Bake in 400 F oven for about 20 minutes.


Because i do not have a blender, i used my mixer. I just made sure i scraped the bowl a couple of times, and I let it fly at high speed. I had used frozen and thawed bananas, so they were kind of mushy. You might want to mash them if you are using fresh without a blender. I also substituted unsweetened apple sauce for the oil, to make them a bit healthier.

From this recipe, i got 6 muffin tops. If i used a smaller pan, i am sure i would have gotten a 8 or even 12. They only had to bake about 15 minutes, but that could be because of the pan. They are moist and delicious, a hint of banana, but not overpowering. They make a quick breakfast, so i will definitely be making these again.

editing a couple months after the fact to laugh at myself! I posted this recipe on another webpage and someone noticed i had left out the measurement for the milk :-P edited to add 1/3 cup milk. 


Sunday, September 19, 2010

Upside down Deep Dish Pizza

Last summer, i found this recipe as a side bar advertisement in a magazine. It is not neatly cut out, so i am pretty sure this is the one i ripped out of a magazine while sitting in a doctor's or dentist's office. I am usually good, but this looked so easy and delicious, i just had to be bad and take it.

I first made it last year on Halloween, I had lots of company coming for dinner, along with Trick-or-Treaters, i wanted something quick but new. It was as good as the picture looked, and really filling! This is the picture of the recipe, at home on the refrigerator with my Seadogs Banner magnet.


1 Lb ground beef.
1 Jar Ragu Old World Style Sweet Tomato Basil Smooth pasta sauce.
1 package (10oz) frozen chopped broccoli, thawed and squeezed dry (optional).
2 cups shredded mozzarella cheese.
1 can (11oz) refrigerated pizza dough.

Brown ground beef in large skillet; drain. Season to taste with salt and pepper. Stir in sauce; bring to a boil. Turn into 2 quart baking dish.

Top with broccoli, then cheese. Press dough over dish, sealing edges.

Bake at 375 F for 20 minutes, or until crust is golden. Let stand 10 minutes,


I used the proper brand of sauce, but not the proper flavour, so i just threw in some mixed spice and some garlic powder. I also did not use the broccoli. Honestly, i did not even know it was something you could get frozen. I prefer broccoli raw or steamed...to have to thaw and squeeze it out just kinda sounded nasty, so since it said optional, i skipped it both times that i made this.

I found when the sauce was added, it looked like the poor hamburger was swimming. I usually buy burger in family packs and divide it into 4 or 5, so maybe i did not quite have a full pound. Either way, the dough soaked a lot of the sauce up, so it was not so soupy coming out.

This is fast, easy, and super delicious. The recipe states it serves 4, I cut it into 6 easily, and served with Caesar salad. I had to use the square pan, because my pie plate really did not look like it would fit everything in to it.


But it was great! I recommend this to anyone who has to drive 3 kids 4 ways to 5 different after school activities, and still wants to be able to put a good meal on the table!  As the ad said:

Saturday, September 18, 2010

Peanut Butter Cheesecake

Cream Cheese was on sale this week, so i decided to buy a box and try something i have never tried before. Cheesecake. I don't like cream cheese, i really do not like cheesecake, i find it to rich, but i know many who love cheesecake, so i figured I'd give it a whirl and invite company for dinner.

So online i went for a recipe and i found this one for Peanut Butter cheesecake at Kraft. It was the only recipe that took only one box. I was not going out to get another box just for one recipe!

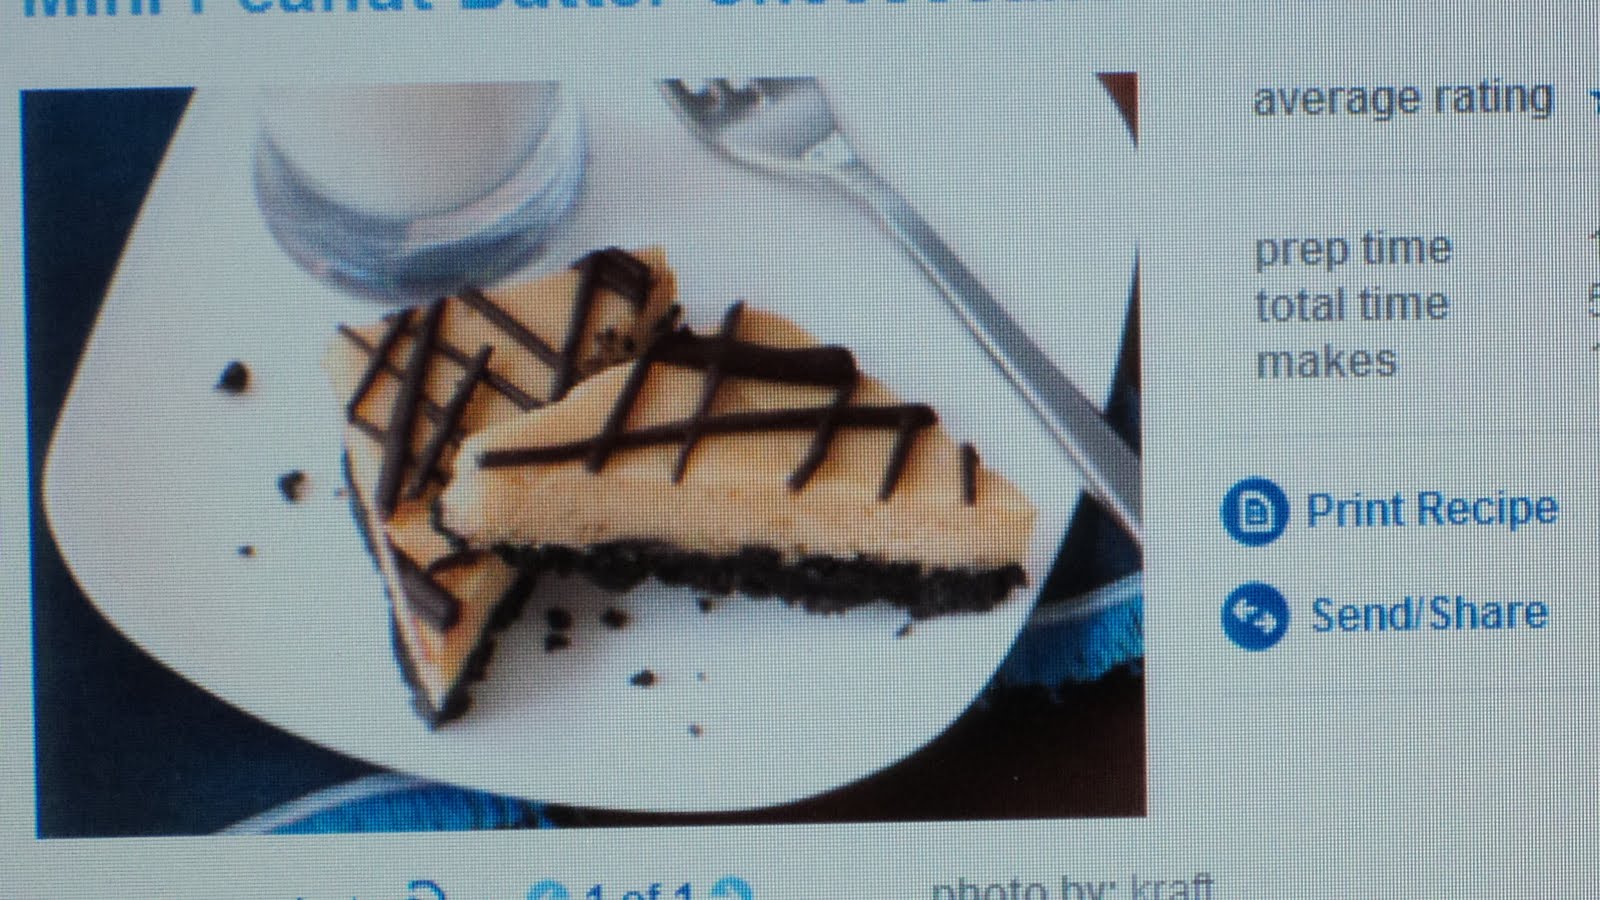
So this is the picture of the dessert should look like as per the Kraft website. So professional!


12 Oreo cookies, crushed
2 Tbsp margarine, melted
1 Pkg (250 g) cream cheese
1/4 cup peanut butter
1/3 cup sugar
1 egg
1 square semi sweet chocolate, melted.

Heat oven to 325 F. Mix cookie crumbs and margarine. Press firmly into 8 inch pan.

Beat cream cheese, peanut butter and sugar until blended. Add egg, mix until just blended. Spoon over crust. Bake 18 to 20 minutes or until center is almost set. Cool.

Drizzle chocolate over cheesecake in criss cross pattern. Refrigerate 5 minutes to set before cutting.


I painted on the criss cross pattern with a rubber spatula, and then swirled the rest on top while dancing to 'Proud Mary' on the radio. It was fun! It looks good, and my whole kitchen smells like peanut butter. I am not the best chocolate drizzlier, but it looks funky!

Of course, the original recipe calls for brand names, Philadelphia cream cheese, Kraft peanut butter, Baker's chocolate. I used generics for all but the PB. It was not difficult to make. Cheese cake has a bad rap that it is something hard to accomplish, but this was easy. I think the only thing i would change is take the cheese out of the refrigerator earlier. It was only out about 10 minutes, and my mixer found it difficult to work with because it was cold.


I tried half a piece, just to be polite and to try something new, and it is not bad. I don't like the taste of cream cheese, but the peanut butter kind of overrides it. Might make it again, if cream cheese goes on sale again. That stuff is expensive!!!

Thursday, September 16, 2010

Healthy Banana Cookies

As noted before, i am trying to lose some weight and get into shape. Unfortunately, i have a weakness for cookies. After searching the vast internet, i have found a recipe that is supposed to be healthy!

There were oodles of comments from users attached to the recipe, all with simple variations that people had tried. Different fruits, different spices, some things substituted to make them even healthier. The recipe is below, and in brackets i put what substitutions and suggestions i took from the comments.

3 ripe bananas
2 cups rolled oats
1 cup dates, pitted and chopped (1 cup raisins)
1/3 cup vegetable oil (1/3 cup unsweetened apple sauce)
1 tsp vanilla extract
(1/2 tsp nutmeg)

In a large bowl, mash the bananas. Stir in oats, dates, oil and vanilla. Mix well and allow to sit for 15 minutes.

Drop by teaspoonful onto an ungreased cookie sheet. Bake 20 minutes in preheated 350 F oven or until lightly brown.


So this is the batter while it was sitting. No oil, no flour, no added sugar. It smells really good, but looks kinda funny. 

A few of the comments suggested greasing the pan, because the natural sugar in the bananas crystallizes and sticks. I have always used parchment, so i did not worry about that, and there was no evidence of crystallized sugar on it. Maybe i did not cook them as long as those folks. 

Another comment said to make them as big as you need them, because they do not grow in the oven. I should have taken this piece of advice, because i have tiny cookies. I also had to cook them the full 20 minutes, although i checked them after 15. 


The recipe came with no storage suggestions, but because of the fruit, and that i am not going to eat them all in one day, i am keeping them in the fridge. They taste good, but not the best cookie that i have ever eaten. They are chewy and banana -y, not to sweet. They could probably do better with come chocolate chips. The comments stated people had tried adding different flavored chips, dried cranberries or blueberries, cinnamon, nutmeg, almond extract, and many other things.

They might grow on me, but we will see.

I am editing this a few days after the fact to state that these do not keep! Eat them up in about 2 days! I had some in the refrigerator and on the counter, and they went bad. It might be all the fruit, it does not tend to keep well. I think i will only be making these again if i have folks over to eat them up, because for one person who only eats a few cookies a day, like me, this recipe is a waste. 

Tuesday, September 14, 2010

Dill Pickles

So I decided to take a leaf from my Mom's book and try to make dill pickles. As long as I can remember, my Mom has always made pickles for the family. When i was a kid, it was Mustard pickles and Chow. One of the first things i was allowed to chop, was a cucumber. She started out making them for family, and then friends, and friends of friends. Eventually, the inevitable happened, and  Dad built her a second kitchen in the cool basement, and Mom was in business. She has since expanded her menu to more than just Chow and Mustard pickles. Now there is also Bread and Butter (my favorite), Lady Ashburn, Beets, and what seems to be everyone's favorite, Dill. I personally do not like dill, but apparently my Mom makes the best dill pickles this side of Wherever. So if i do not like them, why am i making them? My beau loves them...so last summer Mom taught us to make them, and this summer since he hasn't time, i decided to make some.

So really, there is not much you need for a batch of dills. Clean, sterile bottles, i got mine for about 7 dollars at Wal-Mart. Here they are sterilizing. I heated the oven to about 180 F and stuck them in and turned it off. The jars also come with covers that are two parts. One is a screw on top, the other in the center is a pop out with a red rim. Wash these both and separate them, putting the pop out part in a bowl.


You will need a bunch of these baby cucumbers, i found them at the City Market. You can get them just about any where that sells produce. Clean them well, in a sink full of clean cold water. I recommend twice to be sure.  This lovely sink full made 10 jars, it also filled about 3/4 of a shopping bag. 


Of course, you will need some dill. I got mine at the supermarket. Only thing is, i got the wrong type. The dill you need looks like it has little seed pods on top. Usually you will find it in a produce store in late August - early September, standing in the corner in a bucket of water. It's not likely that you will find it in the supermarket. The stuff i got is flat, and best used in cooking things, like salmon, mmm. So along with this, i had to get a bottle of dill seed at the supermarket. The only brand I could find was McCormick, and it was almost 4 dollars for the bottle...ouch. 


The other ingredients are Garlic, you will need one clove per jar, and brine. I can't tell you how to make the brine, because every cook has their secrets, and this one is my Mom's. I can tell you it is usually a mixture of vinegar and kosher salt, with a few other things added in. You can find a recipe for a good brine in any old cook book. 

After cleaning the jars and putting them in the hot oven, you have to peel the garlic. This was the hardest part of the process, i found. I took a few jars out of the oven at a time to stuff them, i found it easier this way. One clove of garlic, a few springs of dill, a sprinkle of dill seed (i used a half tsp measure to scoop it, and used about 1 +1/2 of that for each jar). Then you have to stuff the jar as full as you can with cucumbers. Some of the bigger ones may have to be cut. Top each jar off with another spring of dill. Here are the jars stuffed. 


While you are stuffing, put some water on to boil. Just as it starts bubbling, not a full rolling boil, pour some into the bowl with your pop out lids. Make sure they are completely covered. This is going to soften the red rubber so it will stick and make a good seal. 

Finally you add the brine. It is easiest with a soup ladle. Just ladle the brine into each jar, slap on one of the lids (careful, it is hot!) and then one of the rings. Do not tighten the ring to much, just finger tight.


Now all you have to do is hope they pop. Leave them upright on the counter for 24 hours. You should hear them pop. You can tell they have popped because the little button in the middle of the top is down, not up. Popping is what you want to hear. If they do not pop, you will have to submerge them in water and boil them for a few minutes, this should make them seal. 

The color of the cucumbers will darken as as time goes by, they will take on a dull hue. Try to resist eating them for a couple weeks, the longer they age, the better they are!! 


Sunday, September 12, 2010

Sweet Potato Shepherd's Pie

Another chilly day, and another recipe from the Fall 2010 Kraft magazine. I am beginning to like this issue, and the poor magazine is showing it. Water marks, and a a stain or two, and I've only had it a week!

And old fashioned dish with a twist, this is definitely a new favorite. An i love that it can be served in individual ramekins, it makes for a nice presentation.


1/2 Lb sweet potato (1 large) peeled, cut into 2 inch cubes.
2 Tbsp Herb & Garlic Cream Cheese
1/2 Lb lean ground beef
1 chop sliced mushrooms
1 green onion, chopped
2 Tbsp Sun-dried tomato & oregano dressing
2 tsp flour
1/4 cup water
1 cup frozen green beans

Heat oven to 375F. Microwave potatoes in small bowl on High 4 minutes or until tender, mash until smooth. Add cream cheese; mix well.

Brown meat with mushrooms, onions and dressing in large skillet; drain.

Min flour and water. Add to meat mixture; cook 2 minutes or until slightly thickened, stirring constantly. Stir in beans; spoon into two 2 cup ramekins sprayed with cooking spray. Cover with potato mixture.

Bake 15 minutes or until heated through.


I did not have ramekins, so i put it in a square pan. I think i should have used one more potato, i had only small ones and figured two would do. It is a bad picture because i wasn't in my own kitchen so i did not have my camera handy and therefore used my cell phone. Next time i make it, i will get a better picture.

The only change i made to this was i used a regular onion instead of a green onion. Also, i did not read through the recipe carefully, so i ended up adding the veggies and dressing after the meat was browned, i just let it cook for a couple minutes longer.

This was absolutely delicious, even with cream cheese in it; and i think i could easily expand it for a larger crowd. This will definitely be filed as a favorite.

Saturday, September 11, 2010

Slow-Cooker Provençal Beef Stew

Today was supposed to be a two recipe day, a stew from my new What's Cooking magazine, and my Mom's dill pickles. Unfortunately, i could not get the dill, so for now, i could only make the stew. Hopefully in the next day or two, i will be able to find some dill.

The beef stew did not cost a lot to make, i think the beef was a few bucks, all the fresh veggies were no more than 5 and the cans no more than 3. So you could easily make this 4 person meal for under 15 dollars, 5 dollars a person is not bad at all considering the cost of a meal out these days.

So, on with the recipe, and the professional picture:


1 Lb boneless stewing beef, cubed.
3 Tbsp flour
1 Lb sweet potatoes (2 large) peeled and cubed
1 can diced tomatoes, undrained
1 zucchini, cut into 1 inch slices
1 onion, chopped
4 cloves garlic, minced
1/2 cup beef broth
1/4 cup sun-dried tomato and oregano dressing
1/3 cup fresh basil

Toss meat with flour in slow-cooker. Add all remaining ingredients except basil. Stir
Cover with lid, cook on High 4 to 6 hours; or on Low 6 to 8 hours.
Stir in basil just before serving.


Since i was bored this afternoon while it was cooking, I made tea biscuits to go with it (see my chicken soup post for the recipe).

I did not add the basil because i could not find it. I don't really know how much of a difference it will make, but i have to be honest that i found it so-so on the taste level. I am not crazy about tomatoes to begin with, but i still thought it went a bit overboard for the tomato taste, i love garlic, but in this recipe, it seemed to enhance the tomato taste. Maybe the basil would take some of that taste away.

If you like tomatoes and sweet potatoes, I'd say go for it. I really do not think I am going to try it again, though. I also looked the recipe up on the Kraft website, and it states it is better the next day. There was lots left over (recipe serves 4, made probably enough for 6) so i guess I will find out tomorrow!